Winemaking: The Basic Steps — Moving to Secondary Fermentation
Making wine at home sounds mysterious until you realize it’s mostly about giving yeast the right conditions to do their job. The single biggest turning point in any batch happens when you move your wine from its first container into a sealed one — a step called the transfer to secondary fermentation. Get this right and you’ve cleared the biggest hurdle between grape juice and something worth drinking. Get it wrong and you’re pouring a lot of effort down the drain. This article breaks down what’s happening, why it matters, and exactly how to do it with equipment you can find at any homebrew shop or even a kitchen store.
What “Primary” and “Secondary” Actually Mean
When you first mix your fruit, water, sugar, and yeast together, everything goes into a primary fermentation vessel — usually an open bucket with a loose lid. This is where the wild action happens. Yeast multiply fast, foam builds up, and carbon dioxide (CO₂, the gas that makes soda fizzy) pours off in waves. It’s loud, messy, and exciting.
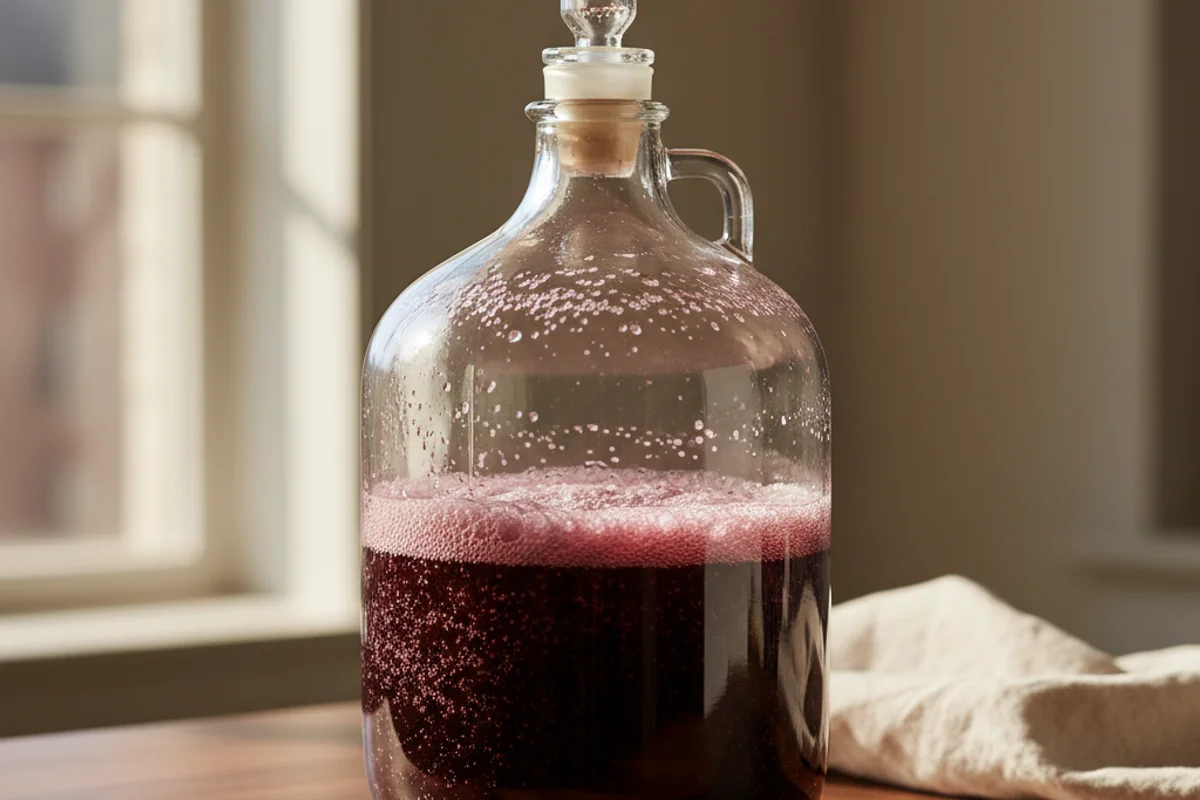
Secondary fermentation is calmer. It happens inside a sealed container — typically a carboy (a glass or plastic jug, usually one to six gallons) fitted with an airlock (a small water-filled device that lets CO₂ escape without letting air in). The yeast slow down, fermentation gets quieter, and the wine starts to clear.
The goal of moving from primary to secondary is to protect the wine at the moment it becomes most vulnerable to oxygen damage.
Why Timing the Transfer Actually Matters
For most of the twentieth century, home winemakers followed a simple rule: wait three to five days, then move the wine. That rule made sense at the time, but newer research changed the picture.
Here’s what we now know: yeast create a naturally oxygen-free zone around themselves as they work. In the first two to three days of fermentation, CO₂ production is so strong that it pushes oxygen out of the liquid entirely. The wine is actually well protected during this vigorous phase — you don’t need to rush it into a sealed vessel.
The real danger comes after the foam settles. As fermentation slows down, CO₂ production drops, and oxygen from the air can start creeping back in. At the same time, free sulfur dioxide (SO₂, a natural preservative added to most wine musts) slowly escapes as a gas, leaving the wine with less protection than it had before.
The sweet spot for transferring is when the specific gravity — a measure of how much dissolved sugar is still in the liquid, read with a tool called a hydrometer — drops to around 1.010. At that point, vigorous fermentation has slowed enough that oxygen is a real threat, but there’s still enough yeast activity to push CO₂ through the airlock and keep air out.
If your hydrometer reads below 1.000 (meaning fermentation ran very fast and finished early), transfer immediately and seal the carboy right away.
What to Move — and What to Leave Behind
Here’s where a lot of beginners make a mistake: they filter everything too aggressively. You do want to strain out the gross lees — the big chunks of pulp, seeds, and skins — using a mesh strainer or a funnel with a screen insert. But the fine lees (the cloudy, yeast-rich sediment at the bottom) should go with the wine.
Why? Because most of the living yeast cells are sitting in that fine sediment. If you leave them behind, fermentation can stall or stop completely. The fix is simple: before you pour, stir the wine to get the fine lees back into suspension, then pour the whole cloudy mixture through your strainer into the carboy. The fine stuff passes right through the mesh. The big chunks don’t.
How to Transfer Without Wrecking Your Wine
Oxygen is the enemy during this step. The less air contact your wine gets during the pour, the better.
A couple of practical tricks help a lot:
Tilt the funnel. Instead of letting wine free-fall into the carboy (which splashes and pulls in air), tilt the funnel so the wine slides down the inside wall of the carboy. It takes a second person to hold the funnel at an angle while you pour, but it makes a real difference.
Use a hose extension. Attach a short piece of food-safe tubing to the bottom of your funnel so it reaches all the way to the bottom of the carboy. The wine fills from the bottom up with almost no splashing.
Purge with CO₂. If you have a small canister of compressed CO₂ (sold at homebrew shops), you can fill the empty carboy with it before you pour. CO₂ is heavier than air, so it settles to the bottom and pushes oxygen out the top. This is a nice trick, but it’s not required if you use the tilt or hose method carefully.
After the Transfer: Don’t Assume, Measure
Once your wine is in the carboy with an airlock on top, fermentation will continue quietly for days or even weeks. When the bubbles in the airlock finally stop, the temptation is to assume you’re done.
Don’t guess — check with your hydrometer. There’s a big difference between finished fermentation (specific gravity at or below 1.000, meaning nearly all the sugar has converted to alcohol) and a stuck fermentation (fermentation stopped early, usually due to temperature, nutrient issues, or yeast problems). Both look the same from the outside. Only a hydrometer reading tells you which one you’re dealing with.
Why This Works
Think of your wine like a campfire. During primary fermentation, it’s a roaring blaze — so much heat and energy that wind (oxygen) barely affects it. But as the fire dies down to coals, a sudden gust can either snuff it out or send sparks where you don’t want them. Moving to a sealed vessel at the right moment is like building a windbreak around those coals: you’re not stopping the fire, you’re protecting it while it does its slow, steady work. The airlock is that windbreak — it lets the exhaust out without letting the weather in.