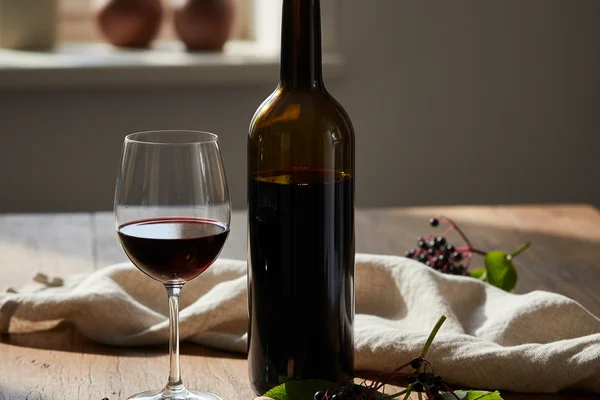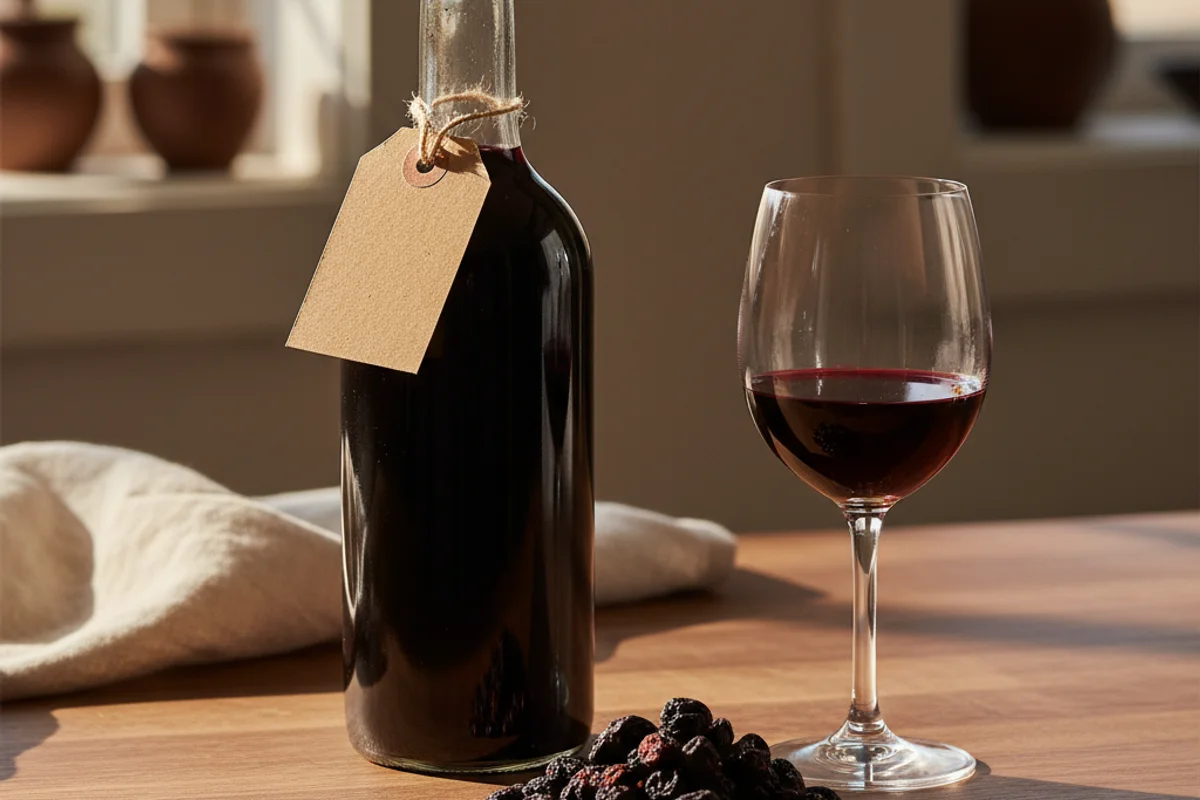
DRIED ELDERBERRY WINE
Elderberries don’t care about your zip code. Fresh ones might be a forager’s prize, but dried elderberries are the shelf-stable shortcut that delivers the same deep purple, earthy, almost jammy wine — any time of year, anywhere in the country. Think dark fruit, a hint of must, and a finish that gets noticeably smoother after a year in the bottle. This is a serious country wine hiding behind a humble bag of dried berries.
The beginner trap: Skipping the full 30-day racking cycle — bottling before the wine is truly clear leaves you with hazy, off-tasting wine that could referment in the bottle.
Ingredients
- 4½ ounces dried elderberries (available online or at homebrew shops)
- 2 pounds granulated white sugar
- 7½ pints (about 15 cups) water
- 1 tsp acid blend (or 1½ tsp lemon juice as a backup)
- 1 tsp yeast nutrient
- 1 Campden tablet, crushed
- 1 packet Montrachet wine yeast (or any dry wine yeast)
Method
- Combine water and sugar in a large pot and bring to a full boil, stirring until the sugar dissolves completely and the liquid runs clear.
- Rinse the dried elderberries and place them in a nylon straining bag; drop a few clean marbles inside to weigh it down, then tie the bag closed.
- Set the bag in your primary fermenter and pour the hot sugar-water over it; cover the fermenter loosely.
- Once the must cools to room temperature, stir in the crushed Campden tablet, yeast nutrient, and acid blend until fully dissolved.
- Re-cover the fermenter and leave it undisturbed for 12 hours.
- Activate your yeast according to the packet, then add it to the must and stir gently.
- Ferment in the primary, stirring daily and squeezing the bag to extract color and flavor, until the specific gravity drops to 1.010.
- Remove and discard the bag, then transfer the liquid to a secondary fermenter (a 1-gallon glass jug works well) and fit an airlock.
- Allow fermentation to finish completely until the gravity is stable and no bubbling remains.
- Rack the wine into a clean vessel every 30 days until it is fully clear and produces zero sediment over a full 30-day period, then bottle.
Why this works
Drying concentrates elderberries dramatically — water is gone, but the pigments, tannins, and flavor compounds stay behind. When you pour boiling water over the bag, you’re doing a hot extraction, pulling those compounds into solution fast. The Campden tablet added at cooling kills off wild yeast and bacteria without cooking off aromatics. Waiting 12 hours before pitching your chosen yeast gives the sulfite time to do its job and then off-gas enough that it won’t suppress your cultured yeast. The daily squeezing during primary fermentation keeps fresh must in contact with the berry solids, maximizing color and body extraction before you move to secondary.
Notes
For a fuller-bodied wine, add ¼ pound of chopped raisins or golden raisins to the straining bag along with the elderberries — they add viscosity without muddying the flavor. Acid blend is sold at homebrew shops; if you can’t find it, bottled lemon juice works in a pinch but adds a citrus note. This wine genuinely improves with 12–18 months of bottle aging, so try to be patient.