Wine Labels
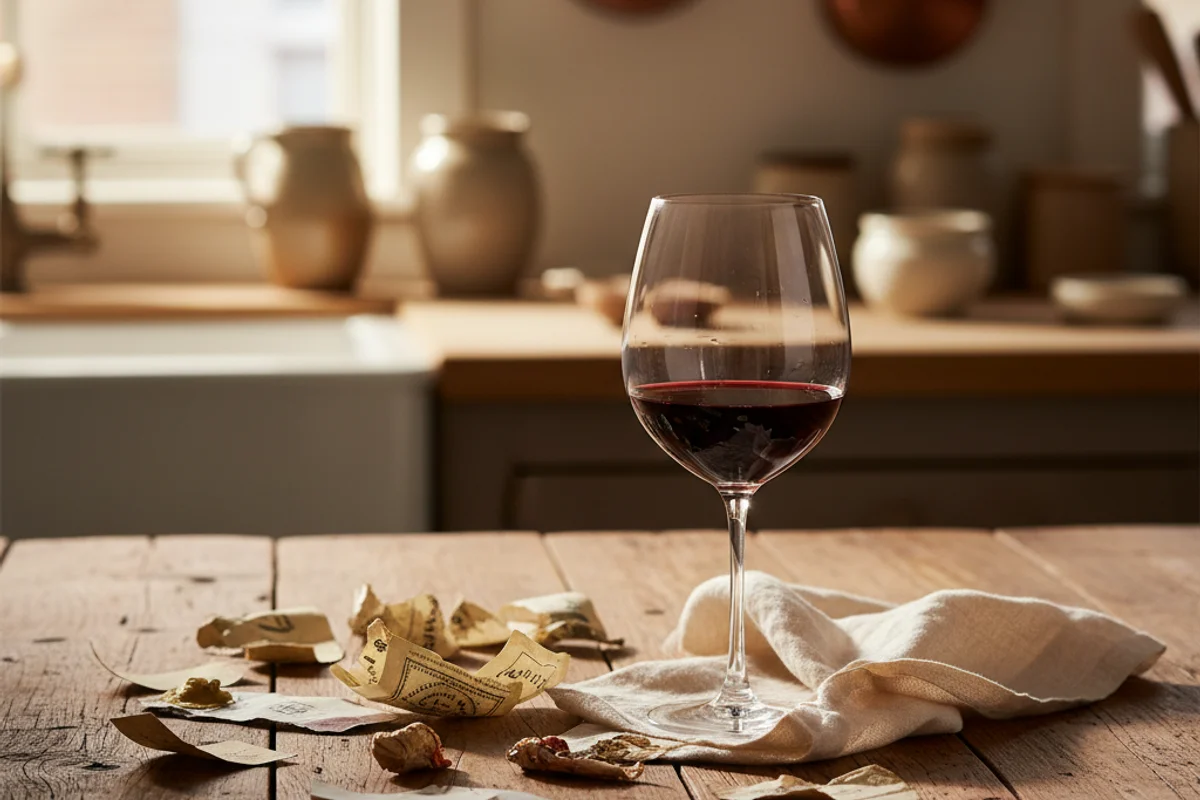
You spent months coaxing fruit juice into something worth drinking. You dialed in your acid, nailed your back-sweetening, and the color in the glass is downright gorgeous. Then you stick a plain bottle on the table with no label and watch your guests pick it up, squint at it, and set it back down confused. A good homemade label is the handshake between your wine and everyone who encounters it — and it takes about twenty minutes to make one worth being proud of.
The beginner trap: New winemakers skip the label entirely or scribble on masking tape, which looks sloppy and tells you nothing useful when you pull a bottle from the cellar two years later.
Ingredients
- 1 word processor or free design tool (Google Docs, Canva, or LibreOffice work fine)
- Standard 8.5 × 11 letter paper, or adhesive label sheets (Avery or any generic brand)
- 1 glue stick or repositionable spray adhesive (if using plain paper)
- 1 pair of scissors or a straight-edge and craft knife for trimming
Method
- Open your design program and create a rectangle sized to fit your bottle — roughly 3.5 × 4 inches works for a standard 750 ml wine bottle.
- Add the essentials: wine name, fruit or base ingredient, vintage year (or bottling date), and alcohol percentage if you measured it.
- Include any tasting notes, residual sweetness, or batch number you want to remember — more detail helps you manage cellar life and recreate winners.
- Arrange two or four labels per page to save paper, then print a test sheet on plain paper before committing to label stock.
- Trim each label cleanly with scissors or a straight-edge cutter.
- Apply with a glue stick or light coat of repositionable spray adhesive — press firmly and smooth out any bubbles.
Why this works
Plain paper with a glue stick sounds low-tech, but it has a real advantage: it comes off cleanly when you want to reuse the bottle. Peel-and-stick label sheets grip hard and can tear or leave sticky residue behind. Repositionable spray adhesive holds well enough to survive a dinner table but releases with warm water and a little patience. Printing multiples per page also lets you run two label versions for the same batch — useful when you split a ferment into dry and sweet halves and need to tell them apart at a glance six months later.
Notes
If you bottled a split batch — say, half dry and half back-sweetened — note the residual Brix or specific gravity right on the label so there is no guessing later. Canva’s free tier has enough templates and fonts to make a genuinely attractive label without any design experience. For bottles you plan to give as gifts, keep the design simple and legible; a clean font and one small image beat a cluttered layout every time.