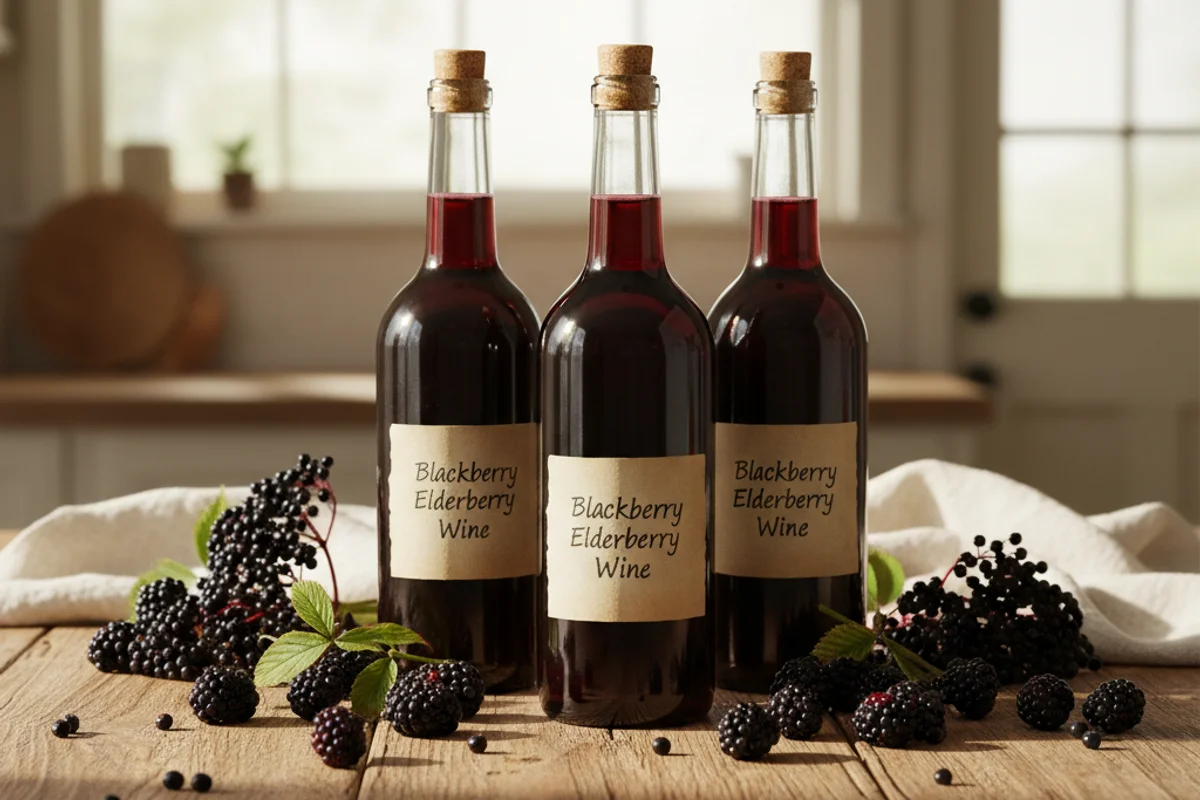
BLACKBERRY-ELDERBERRY WINE (1)
Two of the most intensely flavored wild fruits in the Northern Hemisphere walk into a fermenter. The result is a deep, inky wine with blackberry’s jammy sweetness up front and elderberry’s earthy, almost floral complexity holding down the finish. This is a slow-build wine — it asks for patience across several months — but what it gives back is a richly colored, full-bodied pour that punches well above its ingredient cost.
The beginner trap: Skipping the 12-hour wait before pitching yeast seems harmless, but adding yeast too early — while the must is still warm — kills it before fermentation even starts.
Ingredients
- 4 lbs blackberries, fresh or frozen
- 2 lbs elderberries, fresh or frozen
- 2⅓ cups granulated white sugar
- Water to make 1 gallon total
- 1 tsp pectic enzyme
- ½ tsp acid blend (or 1 tsp lemon juice as a backup)
- 1 tsp yeast nutrient
- 1 packet wine yeast (Lalvin 71B or EC-1118 work well)
Method
- Bring 3 quarts of water to a full boil.
- Wash and sort both fruits, removing any stems, leaves, or damaged berries.
- Place the fruit into a nylon straining bag, tie it closed, set it in your primary fermenter, and mash the fruit through the bag with clean hands or a sanitized potato masher.
- Add the sugar directly to the primary, then pour the boiling water over the fruit and sugar, stirring until the sugar fully dissolves.
- Cover the fermenter and let the must cool to lukewarm (around 70–75°F).
- Stir in the acid blend, pectic enzyme, and yeast nutrient.
- Re-cover and wait 12 hours, then sprinkle in the wine yeast.
- Gently squeeze the fruit bag twice a day for 7 days to pull color and flavor from the pulp.
- Lift and drain the bag, squeezing gently, then transfer the liquid to a clean secondary fermenter and fit an airlock.
- Once active fermentation slows (5–7 days), top the vessel up to the neck with water or reserved must and refit the airlock.
- Let it ferment for 2 months, then rack into a clean secondary, top up again, and refit the airlock.
- Rack again after 2 more months, then once more after 3 additional months — at that final racking, transfer directly into bottles.
- Age in the bottle for at least 6 months, and up to 12 for the best results.
Why this works
Elderberries are loaded with pectin and tannins — great for structure and color, but a problem for clarity. That’s why pectic enzyme is non-negotiable here. It breaks down the pectin chains that would otherwise leave your finished wine permanently hazy. The multiple racking steps aren’t busy work either: each time you move the wine off its sediment (called lees), you’re removing spent yeast cells and other compounds that can cause off-flavors if left in contact with the wine too long. The extended aging lets harsh tannins from the elderberries soften and integrate, turning what starts as a slightly rough young wine into something genuinely smooth.
Notes
Frozen elderberries work just as well as fresh and are far easier to find — check natural food stores or online suppliers. If you can’t source elderberries at all, an extra pound of blackberries can fill part of the gap, though you’ll lose some of that earthy depth. Acid blend is sold at homebrew shops; lemon juice is a passable substitute in a pinch, but the flavor balance may shift slightly.