Extended Instructions for Making Wines from Kits
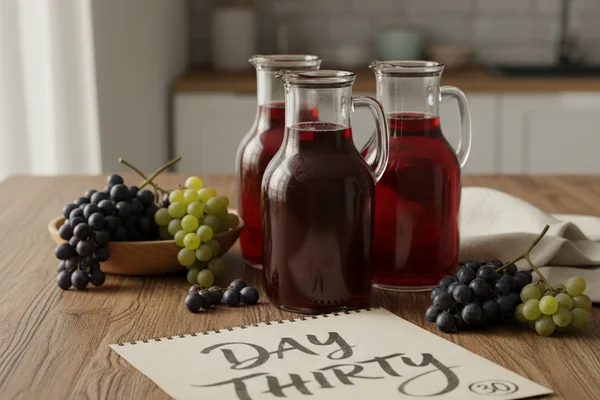
Wine kits are engineered for speed — most promise drinkable results in 28 days. That’s not nothing. But wine is a living process, and rushing it is like pulling a roast out of the oven an hour early because it smells done. The structure isn’t there yet. The CO2 hasn’t left the building. The flavors haven’t knit together. Slow this process down to about six months and the same kit that would’ve made a decent Tuesday-night pour can make something genuinely worth sharing.
The beginner trap: Following the kit’s 28-day timeline to the letter and bottling before the wine has fully degassed, leaving you with a flat, slightly fizzy wine that tastes sharp and unfinished.
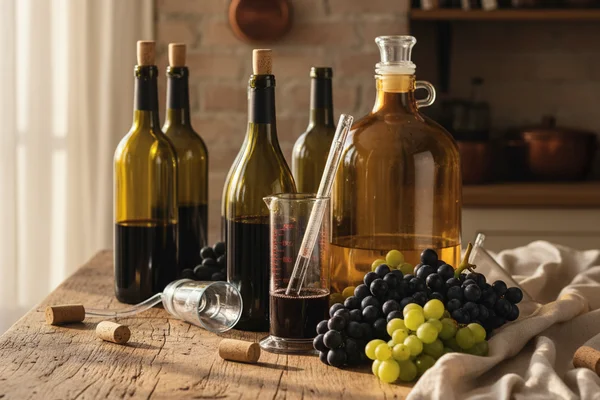
Ingredients
- 1 standard 6-gallon wine kit (concentrated juice, yeast packet, fining agents, stabilizer included)
- 5–6 gallons spring water (not distilled — distilled water lacks trace minerals yeast need)
- 1 to 1½ tsp grape tannin, dissolved in 1 quart boiling water (optional; best for full-bodied reds; available at homebrew shops)
- 1 lb 4 oz granulated white sugar (only if topping up with water instead of finished wine)
- 1.4 oz (39g) untoasted American white oak powder, or 1.5 oz (43g) toasted (optional; use kit’s oak packet if included)
- 1 tbsp bentonite powder (for white wines; mix into pea-soup slurry with hot water before use)
- 3 tsp potassium sorbate (only if kit’s stabilizer packet is labeled potassium metabisulfite alone)
- ¼ tsp potassium metabisulfite (for Day 140 racking)
- Enough finished, dry wine of a similar style for topping up at multiple stages (two to three 750ml bottles total across the process)
- 4 oz (115g) medium-toast French oak chips, or 3.5 oz (100g) medium-toast oak cubes (optional; for secondary oak addition on Day 45)
Method
Day 1
- If adding grape tannin, dissolve 1 to 1½ tsp in 1 quart of boiling water first, then use that liquid as part of your rehydration water.
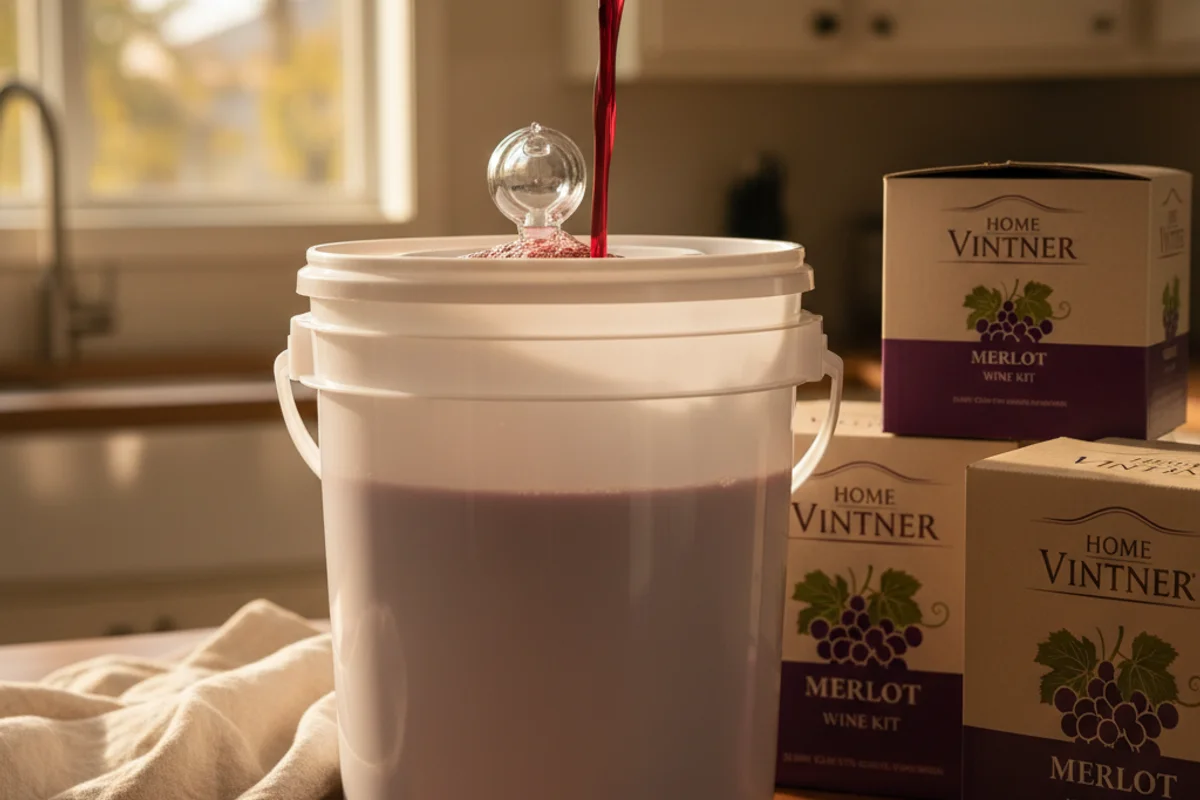
- Rehydrate the kit’s juice concentrate to a full 6 gallons in a sanitized 6-gallon carboy using spring water; stir well.
- Check specific gravity with a hydrometer — target 1.088 if you plan to top up later with finished wine, or 1.095 if you’ll top up with water (add 1 lb 4 oz sugar to reach 1.095).
- Pull out 1 gallon of the must, seal it in a glass jug, and refrigerate it — this is your reserve.
- Add oak powder to the remaining 5 gallons in the carboy if desired; the refrigerated gallon stays oak-free for now.
- Rehydrate the kit yeast according to the packet instructions, then stir in ⅓ cup of must to loosen the slurry before pitching it into the carboy.
- Cover the carboy mouth with a clean piece of muslin secured with a rubber band — no airlock yet; yeast need oxygen for the first 48 hours.
- Keep the carboy at a steady 70°F (20°C).
Day 2
- Gently stir the must to keep yeast in suspension.
- After the full 48 hours have passed, swap the muslin for your airlock.
Days 3–5
- Stir the must once daily on Days 3 and 4; stir on Day 5 only if fermentation still looks sluggish.
- Reattach the airlock after every stir.
Days 7–9
- Watch for vigorous bubbling to slow down — this usually happens around Day 7 or 8, sometimes Day 9 or 10.
- Once activity calms, slowly add the refrigerated reserve gallon back to the carboy: if it’s still cold, add 1 pint every 15 minutes and stir briefly; if it’s warmed to room temperature, add 1 quart every 15 minutes.
- Reattach the airlock and hold at 70°F for the next three weeks.
Day 28
- Check specific gravity — it should read below 0.995 for most kits, or below 1.000 for big reds.
- Record the reading and reattach the airlock.
Day 29 (white wines only)
- Add 1 quart of boiling water to a blender on medium speed and slowly pour in 1 tbsp of bentonite; blend on high for 2 minutes until the slurry looks like pea soup.
- Cover and set aside for use tomorrow.
Day 30
- Recheck specific gravity — if it hasn’t dropped since Day 28, you’re ready to stabilize; if it has dropped, wait and check daily until it holds steady for two consecutive days.
- Add the kit’s stabilizer packet (plus 3 tsp potassium sorbate if the stabilizer is potassium metabisulfite only) to a fresh sanitized 6-gallon carboy.
- Rack the wine into the new carboy, leaving the lees behind.
- Degass by stirring vigorously for 3 minutes, resting 15 minutes, then stirring vigorously for another 3 minutes.
- For white wine, re-blend the bentonite slurry for 2 minutes on high, then stir it into the carboy; for red wine, add the Kieselsol component from a red wine fining package if you have one.
- Stir vigorously for 4 minutes, top up with similar dry wine, and reattach the airlock.
Day 31
- Pull about 200ml of wine out with a wine thief and set it aside in a clean container.
- Add the kit’s fining or clarifier packet (white wine finings for whites; red wine clarifier for reds) to the carboy and stir vigorously for 4 minutes; rest 15 minutes, then stir vigorously for another 4 minutes.
- Return the 200ml of wine you set aside, top up the carboy, reattach the airlock, and move the carboy to the coolest spot you have — or stopper it and put it in the fridge.
Day 45
- Carefully rack the wine into a sanitized carboy, avoiding any splashing.
- If you want to add oak now (and didn’t add oak powder on Day 1), heat-sanitize 4 oz of oak chips in a 250°F oven for 30 minutes, let them cool, and add to the carboy; or add 3.5 oz of oak cubes directly with no prep needed.
- Top up to the very top with similar dry wine (leave 2.5 inches of headspace if the wine was refrigerated and is still cold).
- Reattach the airlock and store in a cool, dark place for the next 35 days, checking the airlock fluid level periodically.
Day 80
- Rack the wine off its light lees into a sanitized carboy; discard used oak chips, or rinse oak cubes and return them to the fresh carboy.
- Top up with dry wine, check the airlock, and store in a cool, dark place for the next 60 days.
Day 140
- The wine should be crystal clear at this point — if not, give it more time before proceeding.
- Degass by stirring vigorously with a sanitized dowel until cavitation occurs (a visible air cavity forms behind the rod as it moves); stir 2–3 minutes, rest 10–15 minutes under airlock, and repeat until foam stops forming.
- Test for residual CO2 by putting 200ml of wine in a small bottle, covering the mouth with your thumb, and shaking hard — substantial foam means more degassing is needed.
- Rack into a sanitized carboy containing ¼ tsp potassium metabisulfite; if the wine still needs degassing, stir vigorously for 4 minutes, rest 15 minutes, stir vigorously for 4 more minutes.
- Taste the wine, top up as needed, and reattach the airlock.
Day 170
- Taste the wine — if it’s balanced, clear, and CO2-free, you can bottle at any point or filter it now for bottling on Day 180.
- If using oak cubes and you plan to filter, rack into a fresh carboy and discard the cubes.
Day 180
- Taste one final time, then bottle.
Why this works
Wine kits rush you for business reasons, not chemistry ones. Fermentation may finish in two weeks, but dissolved CO2 stays trapped in solution long after the bubbles stop — that gas makes wine taste sharp and thin. Slow racking, patient degassing, and extended bulk aging give CO2 time to escape naturally. The reserved gallon trick matters too: holding back a portion of must and adding it after vigorous fermentation cools down gives yeast a second wave of fresh sugars to ferment slowly, which builds more complex flavor compounds than a single fast ferment ever could. Oak contact during bulk aging — rather than rushed chip additions — lets tannins integrate instead of sitting on top of the wine like a wooden plank.
Notes
- If you can’t find oak powder or chips at a local homebrew shop, look for food-grade oak spirals at a winery supply retailer online — use the same weight guidelines above.
- For top-up wine, buy an inexpensive but drinkable bottle of the same varietal; you’ll use it in small amounts across several rackings, so it doesn’t need to be anything special.
- If your finished wine still seems slightly fizzy at Day 140, a Vacu-Vin pump or a hand-held vacuum degasser tool (available at homebrew shops for under $20) will speed up the process considerably.